1# Install the theme
- Open your SharePoint Site;
-
Open the Settings menu and click on Site Settings;
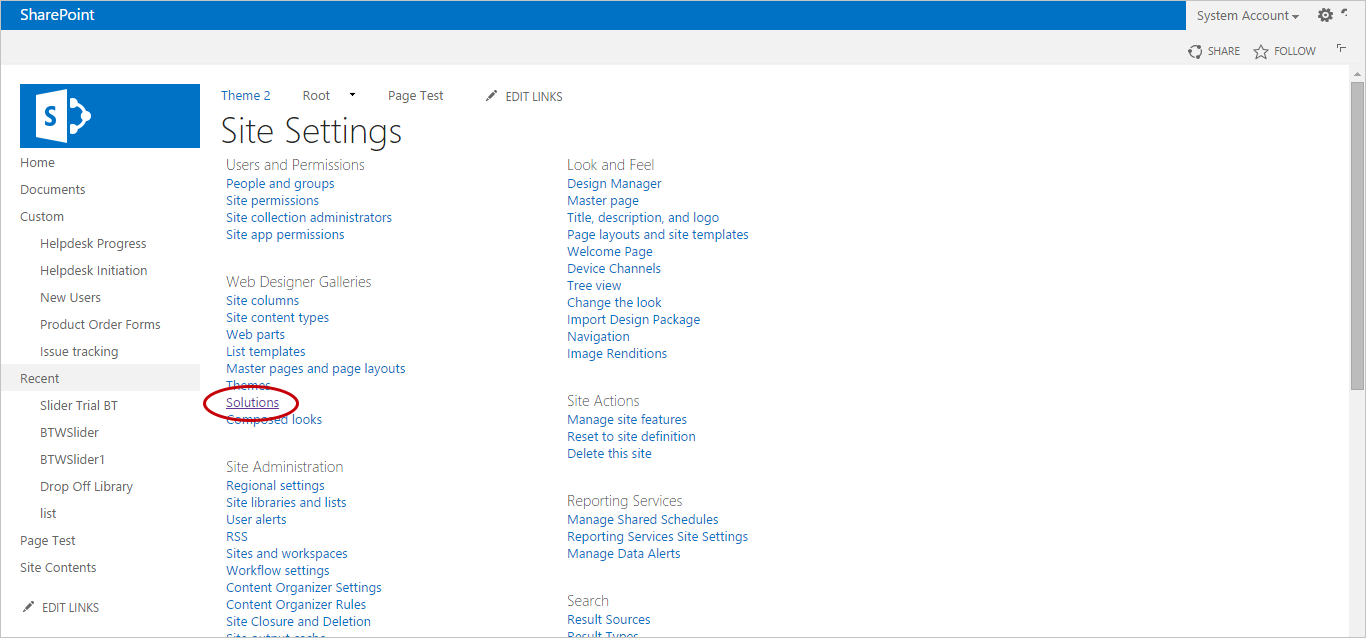
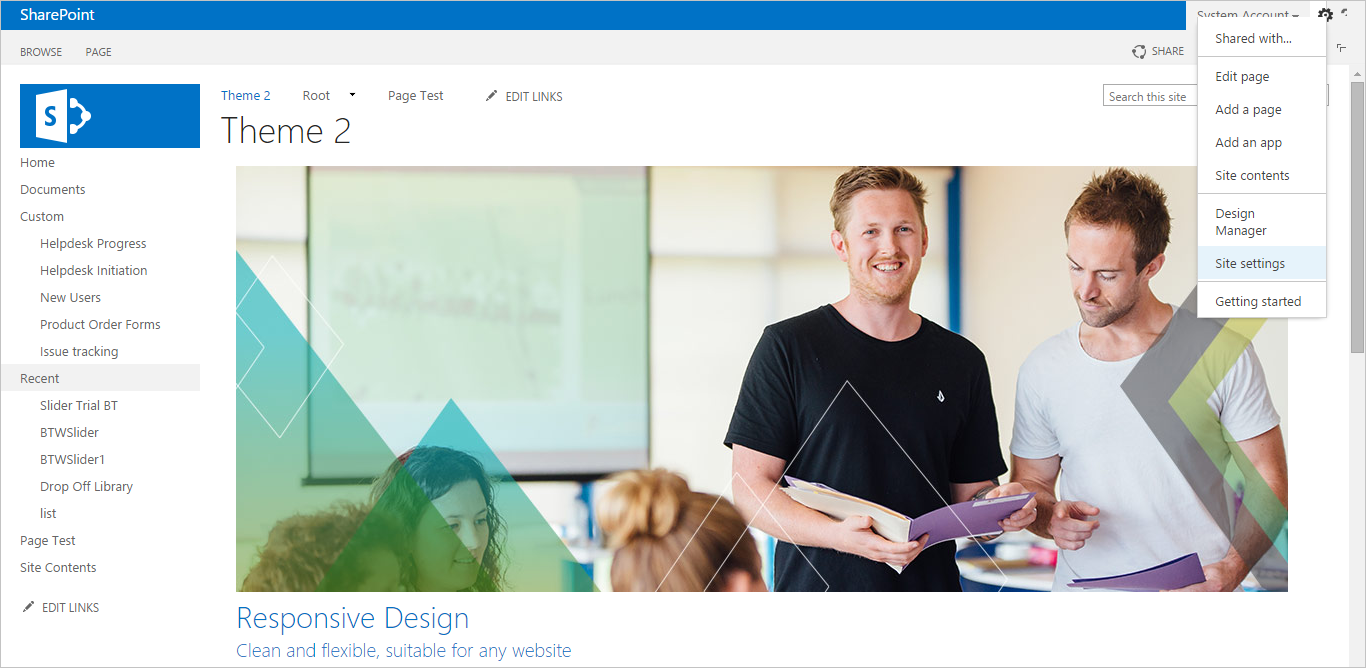 3. Under Web Designer Galleries, click on Solutions;
If you're not working on your root site this option will not appear.
-
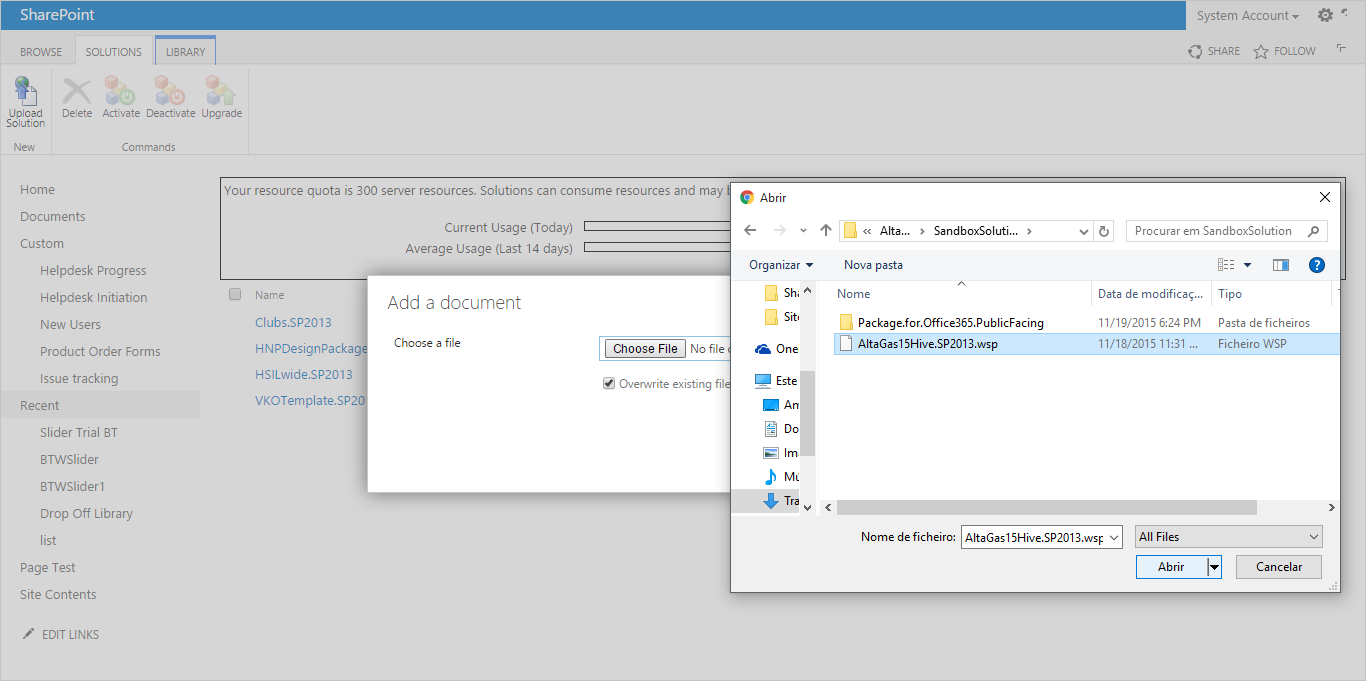
Click on Upload Solution;
-
Upload the yourthemename.SP2013.wsp file;
You can find the file in the SandboxSolution folder, inside your theme package.your theme package.
-
Click OK;
-
Click on Activate to activate the theme.

CHECK IF THE THEME WAS INSTALLED
Before wrapping up the installation lets check if the theme was successfully installed and activated.
Still inside Solutions, check if your theme appears listed, with an Activated status.

Theme installed! ✅
3# Set the master page
Final step is to change your current master page to one of the theme's master page.
ACTIVATE SHAREPOINT PUBLISHING FEATURES
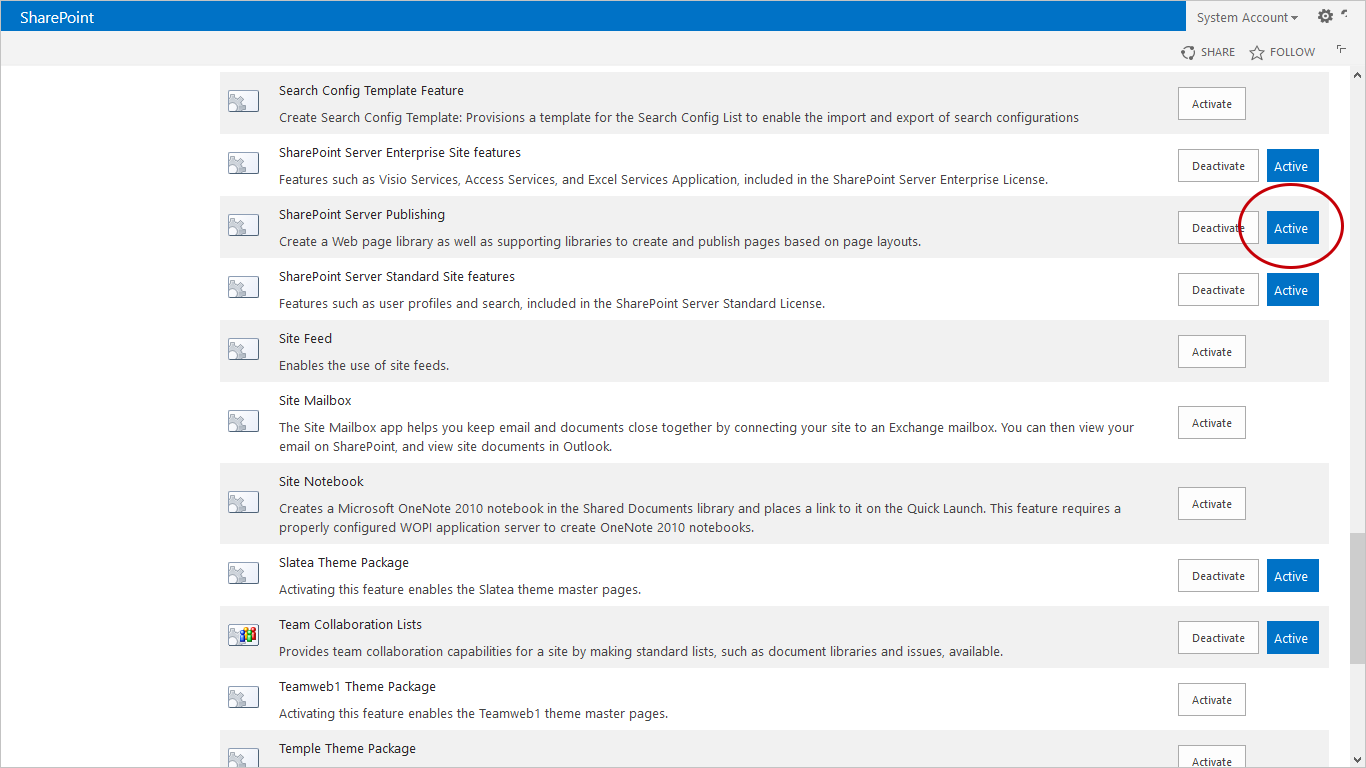
To change your website master page you will need to first activate the SharePoint Publishing features.
To activate SharePoint publishing Features you will have to be an Admin or have granted permissions from your Admin.
- Open the settings menu and click on Site settings;
-
Under Site Actions, click on Manage site features;

-
Search for **SharePoint Server Publishing and click on *Activate;
-
SharePoint Publishing features are now activated.
SETTING THE MASTER PAGE
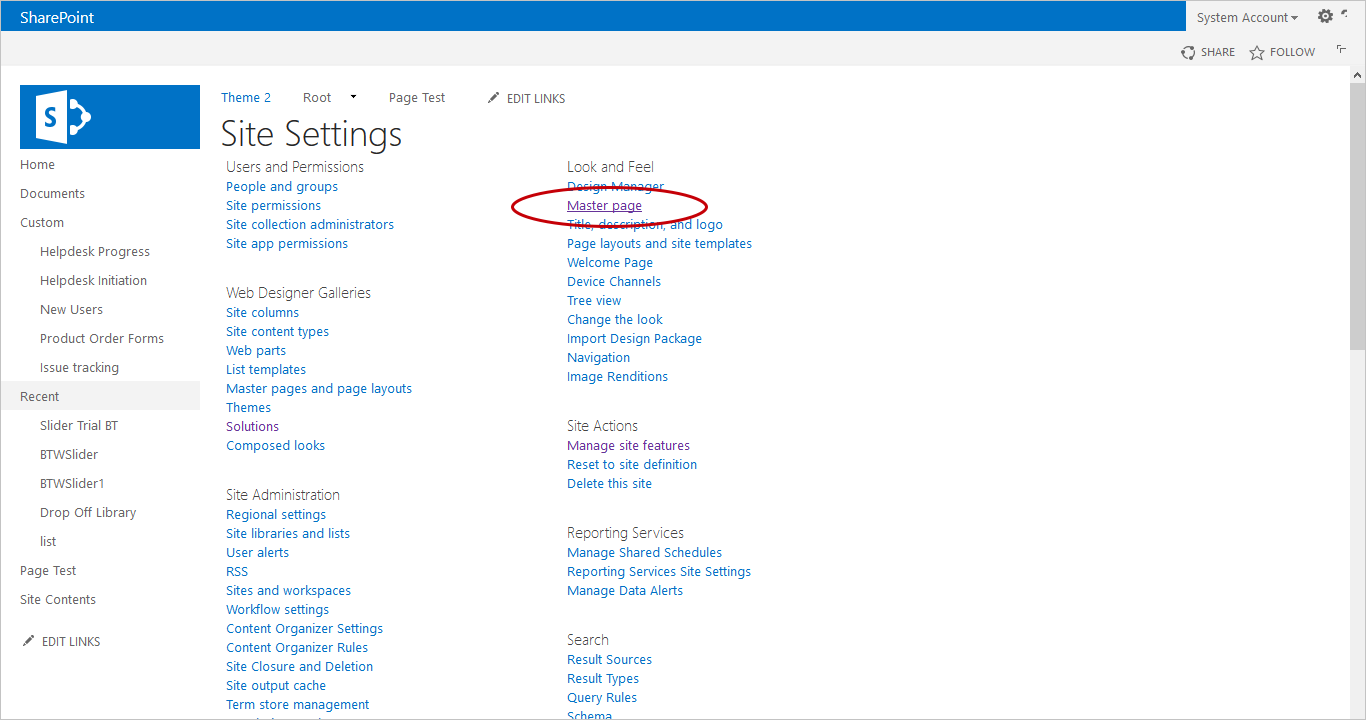
- Open the Settings menu and click on Site Settings;
-
Under Look and Feel, click on Master page.
-
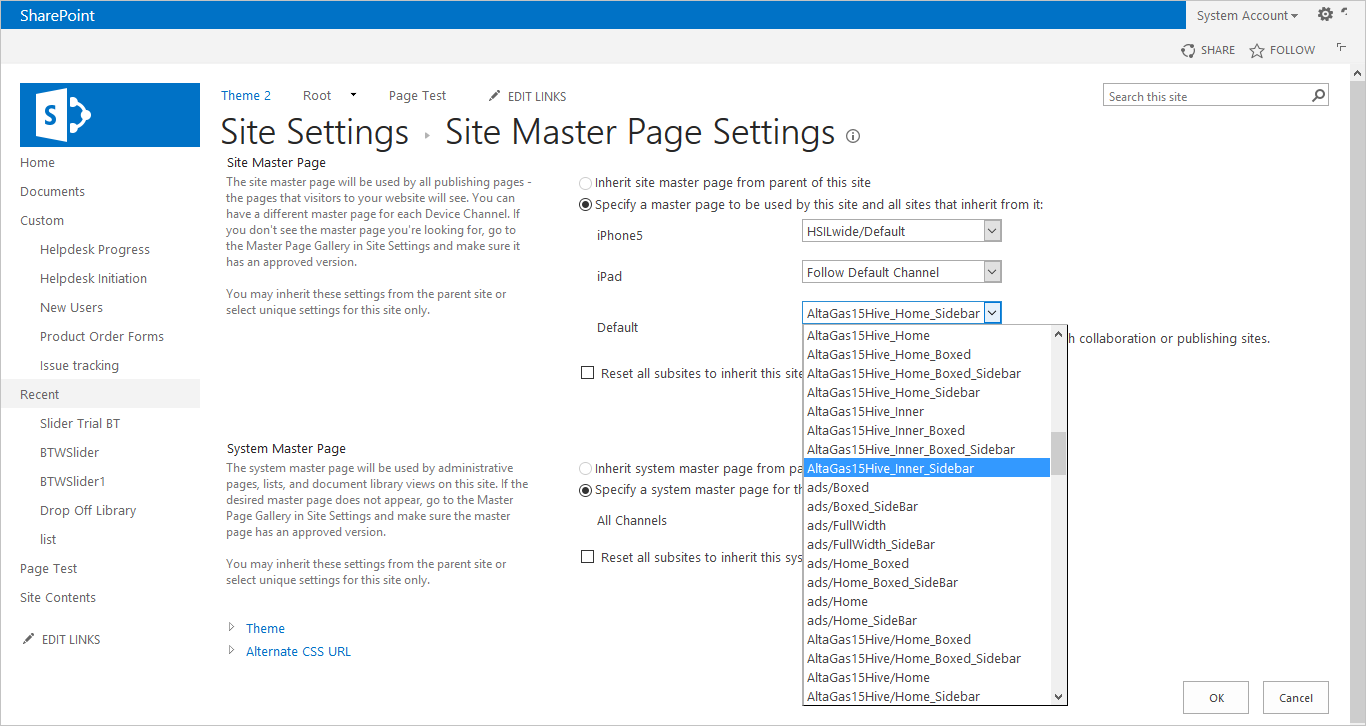
Choose the master page you want to apply.
BindTuning master pages have the following terminology: yourthemename_nameofthemasterpage.
Master Page set! ✅
Next - Set the Master Page